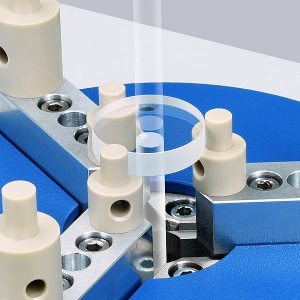
Non-contact lens thickness measurement improves yield
OptiSurf® LTM enables efficient target value monitoring in lens production
Sign up here to watch the full video.
Date: February 15, 2018
Duration: 60 minutes
Short preview english version
Short preview chinese version
About this event
Conventional tactile measurement of the lens center thickness usually limits the production process of single and cemented lenses in terms of achievable accuracy and production output. This webinar introduces the OptiSurf® LTM non-contact center thickness measurement system as a solution to both problems.
In addition to the surface form accuracy, the center thickness is another important parameter for the manufacturing of lenses. It determines the optical path length of the light beam passing through the lens and can thus have a crucial effect on the overall imaging quality of an optical system.
During the production process, the center thickness of the workpiece is routinely measured in order to reach the usually tight specifications from the optical design. If the conventional tactile thickness measuring method is used, the processed lens must first be removed from the supporting arbor tool including bonding cement and any protective lacquer – a considerable critical and time consuming process. In contrast, the non-contact thickness measurement method presented here allows measuring the lens thickness from one side and in the cemented state on the tool. This results in a substantial productivity increase and lower reject rate.
This webinar first leads you through the conventional production process and shows the resulting consequences. Afterwards the improved method is presented: Non-contact optical center thickness measurement using coherence tomography / low coherence interferometry. By the example of OptiSurf® LTM, the measurement principle will be explained, and how the manufacturing process is optimized for a significant increase in productivity and yield.

Expert:
Dr. Patrik Langehanenberg
R&D Manager OptiCentric®/OptiSurf®
Patrik Langehanenberg received a doctorate degree for his work in the field of low coherence digital holographic microscopy from the University of Muenster (Germany) in 2009.
Since then, he has been with TRIOPTICS GmbH, where he leads the research and development activities in the area of centration testing and opto-mechanical characterization of optical systems.


